The James Hardie Colors PDF serves as a comprehensive guide to exploring the ColorPlus palette, offering insights into curated color options and design tips for exterior transformations.
1.1 Overview of the Document
The document provides a detailed guide to James Hardie’s ColorPlus Technology, offering a wide range of pre-finished colors and design tips for exterior siding. It includes regional color collections, sustainability practices, and the Joanna Gaines Collection, helping homeowners select colors that complement their home’s style and location. The guide emphasizes the importance of color sampling and matching for a polished, long-lasting finish.
1.2 Importance of Color Selection in Exterior Design
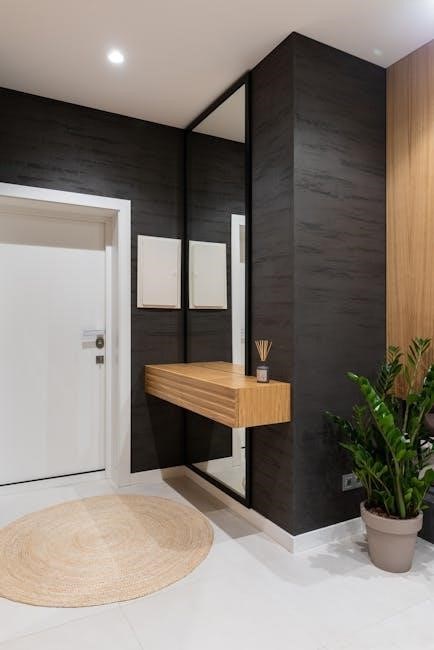
Color selection plays a crucial role in enhancing curb appeal and reflecting personal style. The right exterior colors can harmonize with architectural elements, surroundings, and climate, creating a cohesive look. Proper color matching ensures long-lasting aesthetics and protects against fading. Homeowners can use the guide to explore how colors influence their home’s value and emotional impact, ensuring a polished, enduring finish that complements their lifestyle and environment.
What is ColorPlus Technology?
ColorPlus Technology is a advanced finishing process that bakes multiple layers of paint onto siding, ensuring even coverage and long-lasting durability. It resists fading from UV rays, maintaining vibrant colors for years while offering a wide range of stylish, expert-curated options for exterior design.
2.1 Explanation of the Technology
ColorPlus Technology involves multiple layers of paint baked onto siding in a controlled environment, ensuring even coverage and exceptional durability; This process enhances color retention and resistance to fading from UV exposure, maintaining vibrant hues over time. The technology is climate-tested, making it suitable for various environmental conditions, and offers a wide range of pre-finished colors for exterior design flexibility and aesthetic appeal.
2.2 Benefits of Using ColorPlus Technology
ColorPlus Technology offers exceptional durability and fade resistance, ensuring colors remain vibrant for years. It resists UV damage, maintaining the siding’s aesthetic appeal. The pre-finished colors simplify the design process, providing a wide range of options to match various architectural styles. This technology also reduces maintenance needs, as the baked-on finish is climate-tested and long-lasting, enhancing both curb appeal and home value.
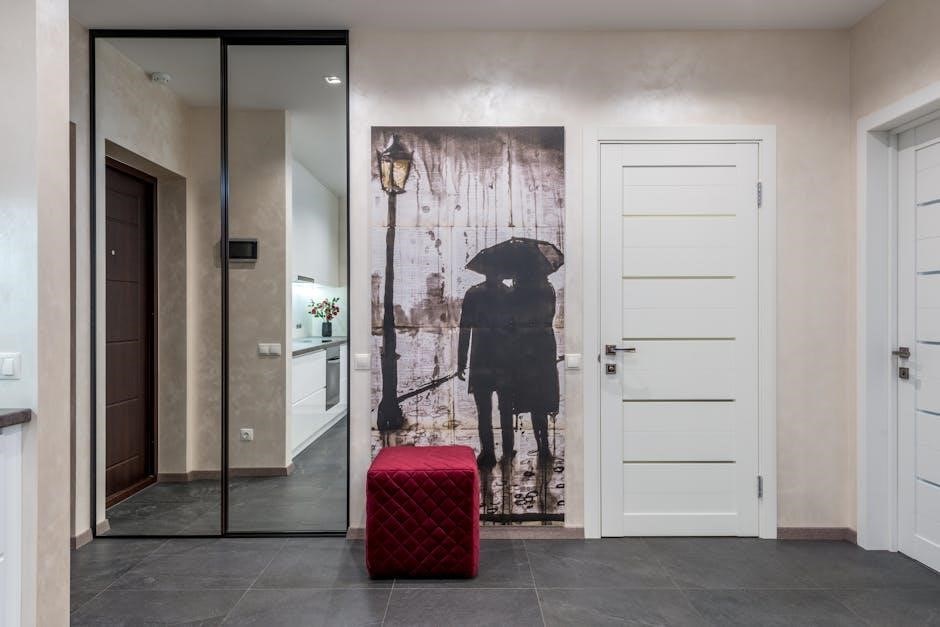
The James Hardie Color Palette
The James Hardie Color Palette offers a curated selection of durable, fade-resistant colors, expertly designed to enhance exterior aesthetics and complement various architectural styles with lasting beauty.
3.1 Standard Color Options Available
The James Hardie Color Palette features a wide range of standard colors, including Arctic White, Navajo Beige, Iron Gray, and Rich Espresso. These options are designed to complement various architectural styles, ensuring timeless appeal. The palette combines classic neutrals with bold choices, offering versatility for any home. Each color is crafted with ColorPlus Technology, ensuring durability and fade resistance. The PDF guide provides a detailed overview of these options, making it easy to select the perfect hue for your exterior design.
3.2 Regional Color Collections
James Hardie offers Regional Color Collections, tailored to complement local architectural styles and climates. For instance, the Northeast Collection features colors like Boothbay Blue and Mountain Sage, reflecting the region’s natural beauty. These curated palettes ensure homes blend seamlessly with their surroundings while maintaining durability and aesthetic appeal, as outlined in the PDF guide for exterior design inspiration.

Design and Color Guide
The James Hardie Design and Color Guide is a comprehensive resource for exterior design, offering expert-crafted color combinations and tips to enhance your home’s architectural style.
4.1 How to Use the Guide for Exterior Design
The James Hardie Design and Color Guide provides a step-by-step approach to selecting exterior colors. It offers curated color palettes, design tips, and real-life examples to inspire your project. Start by identifying your home’s architectural style, then explore complementary siding, trim, and soffit color combinations. The guide also includes tips for creating a cohesive look, ensuring your exterior design is both functional and visually appealing.
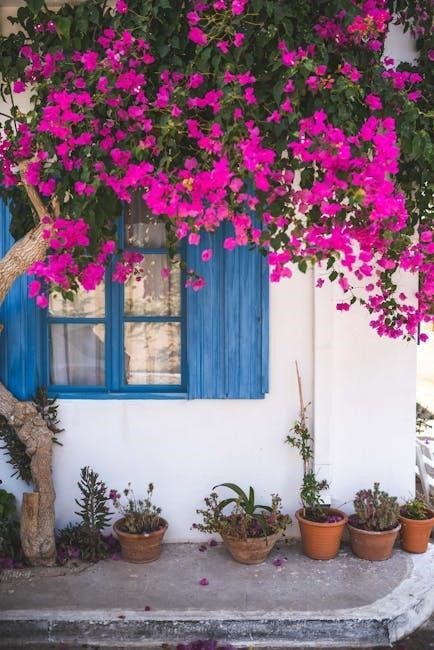
4.2 Combining Siding and Trim Colors for Optimal Aesthetics
Combining siding and trim colors creates a harmonious exterior look. Choose complementary shades from the ColorPlus palette to enhance curb appeal. Neutral siding paired with bold trim adds contrast, while monochromatic schemes offer a sleek, modern aesthetic. Ensure colors align with your home’s style for a cohesive design. Coordinating soffit colors completes the look, ensuring a polished and visually appealing exterior.
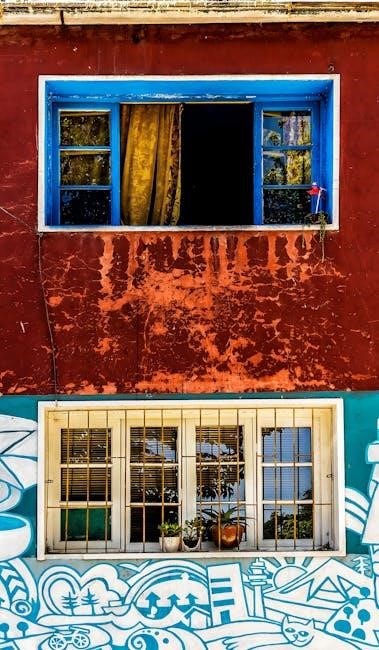
Siding Options and Their Corresponding Colors
James Hardie offers versatile siding options with diverse color choices. HardiePlank, HardiePanel, and HardieShingle each feature unique color palettes, ensuring a perfect match for any architectural style and design preference.
5.1 HardiePlank Lap Siding Color Options
HardiePlank lap siding offers a wide range of colors, including popular choices like Navajo Beige, Timber Bark, and Cobble Stone. These colors are part of the ColorPlus palette, ensuring durability and vibrant aesthetics. With a variety of options to suit any architectural style, HardiePlank provides a timeless look that complements both modern and traditional designs. The colors are carefully curated to enhance curb appeal and withstand environmental elements.
5.2 HardiePanel Vertical Siding Color Choices
HardiePanel vertical siding offers a diverse range of colors, including Arctic White, Evening Blue, and Iron Gray. These options, part of the ColorPlus palette, provide a sleek, modern aesthetic while maintaining durability. The vertical design complements contemporary and traditional homes, with colors that resist fading and retain vibrancy. This siding choice combines versatility with timeless appeal, ensuring a polished look for any architectural style.
5.3 HardieShingle Siding Color Varieties
HardieShingle siding offers a variety of ColorPlus shades, including Navajo Beige, Timber Bark, and Cobble Stone. These pre-finished colors provide a timeless, natural look, enhancing curb appeal. The shingle design mimics traditional wood siding while offering superior durability. With UV-resistant technology, the colors retain their vibrancy over time, ensuring a polished appearance that complements various architectural styles. Each shade is carefully curated for lasting beauty and design flexibility.
Regional Color Collections
James Hardie offers regional color collections, tailored to specific geographic areas, ensuring colors complement local architectural styles and preferences to enhance curb appeal.
6.1 Color Collections Specific to Different Regions
James Hardie offers regional color collections, carefully curated to align with the unique architectural styles and environmental conditions of specific geographic areas. These collections are designed to enhance curb appeal while blending seamlessly with local aesthetics. For instance, the Northeast Collection features earthy tones that complement traditional New England home designs. Colors are selected to reflect regional preferences and ensure a natural, cohesive look. Availability may vary by region.
6.2 Northeast Collection as an Example
The Northeast Collection is a prime example of region-specific design, featuring earthy tones like Navajo Beige and Iron Gray. These colors complement the traditional architectural styles of New England, offering a timeless aesthetic. The collection is tailored to withstand the region’s harsh climate while maintaining a sophisticated curb appeal. It reflects local preferences, ensuring homes blend seamlessly with their surroundings. Color availability may vary based on regional demand.
Color Matching and Sampling
Color matching ensures accuracy, but digital representations may vary. Always request physical samples to see true colors and finishes before making final decisions.
7.1 The Process of Color Matching
The process ensures accurate color representation. James Hardie uses advanced technology to replicate hues precisely. RAL color codes are referenced for consistency; Consult local representatives for samples to verify colors accurately, as digital displays may vary; This step ensures the chosen shade aligns with your vision and environment, avoiding post-installation discrepancies.
7.2 Importance of Sampling Before Final Decision
Sampling is crucial for ensuring color accuracy and satisfaction. Colors may appear differently on screens or in print. Obtain physical samples to see the true hue and texture. This step prevents costly mistakes and ensures the chosen color complements your home’s style and surroundings. Local representatives provide samples, aiding in confident decision-making for a flawless exterior design outcome.
Benefits of Pre-Finished Colors
Pre-finished colors offer durability and fade resistance, ensuring vibrant hues last longer. ColorPlus Technology provides even coverage and protection from UV rays, maintaining color freshness and appeal over time.
8.1 Durability and Fade Resistance
James Hardie’s pre-finished colors, enhanced by ColorPlus Technology, ensure exceptional durability and resistance to fading. The baked-on finish resists UV rays, maintaining vibrant colors for years. This technology provides even coverage and long-lasting protection, ensuring your siding retains its fresh appearance without frequent touch-ups, offering both aesthetic longevity and low-maintenance benefits for homeowners.
8.2 Aesthetic Appeal and Design Flexibility
James Hardie’s pre-finished colors offer a wide range of aesthetically pleasing options, providing design flexibility for homeowners. The ColorPlus palette, curated by experts, features a variety of colors that enhance curb appeal. With options like Joanna Gaines’ collection, homeowners can achieve a cohesive and stylish exterior. These colors are designed to complement various architectural styles, ensuring a beautiful and personalized finish for any home.
Joanna Gaines Collection
The Joanna Gaines Collection offers 16 thoughtfully curated colors, simplifying the re-siding process. These colors blend timeless style with durable ColorPlus Technology for lasting beauty and performance.
9.1 Overview of the Collection
The Joanna Gaines Collection is a collaboration offering 16 handpicked colors designed to simplify home re-siding. Curated by Joanna, these hues blend timeless style with modern sophistication, ensuring a seamless exterior transformation. Each color is backed by James Hardie’s durable ColorPlus Technology, providing long-lasting vibrancy and resistance to fading. This collection strikes a balance between classic and contemporary aesthetics, catering to various architectural designs for a polished, cohesive look.
9.2 Features and Benefits of This Collection
The Joanna Gaines Collection offers 16 curated colors designed to simplify exterior transformations. Backed by ColorPlus Technology, these hues ensure durability and fade resistance. The collection provides design flexibility, allowing homeowners to achieve cohesive looks across various architectural styles. With its timeless appeal, the collection simplifies color selection while maintaining high aesthetic standards, ensuring long-lasting beauty and curb appeal for homes.
Sustainability and Color Selection
James Hardie’s eco-friendly practices ensure sustainable color options. Durable, fade-resistant colors reduce repaint needs, aligning with environmentally responsible design and long-term beauty for your home’s exterior.
10.1 Environmentally Friendly Practices
James Hardie prioritizes sustainability through eco-friendly manufacturing and material efficiency. Their ColorPlus Technology ensures long-lasting colors, reducing the need for frequent repainting. This aligns with sustainable design principles, promoting energy efficiency and resource conservation in building exteriors.
10.2 Color Selection for Sustainability
James Hardie’s color selection supports sustainable design by offering durable, fade-resistant options that reduce maintenance needs. Lighter shades can reflect solar rays, enhancing energy efficiency, while darker tones blend seamlessly with natural environments. The ColorPlus palette aligns with green building standards, ensuring aesthetic appeal while promoting eco-friendly exterior designs.